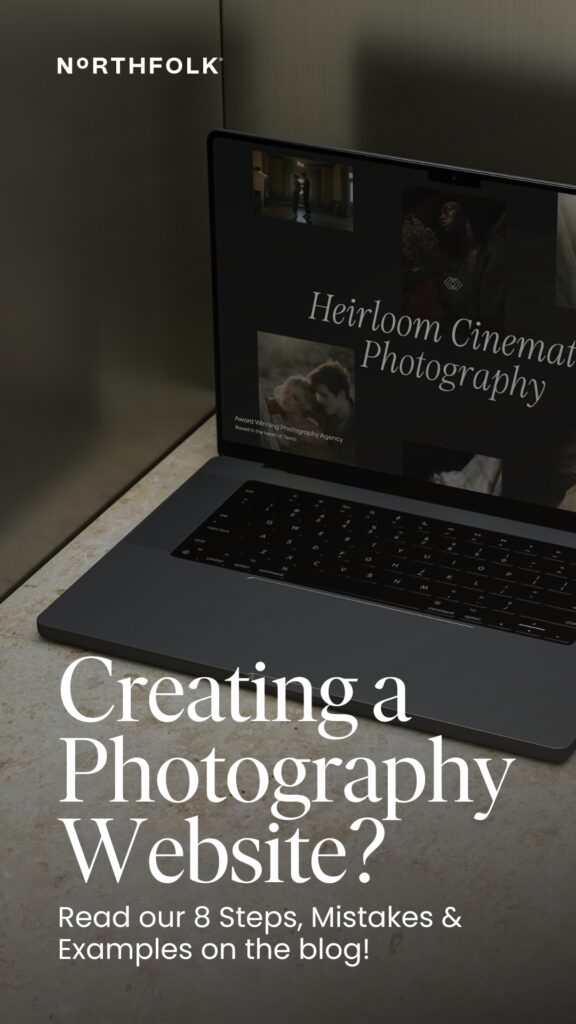

Creating a photography website? See the 8 steps to follow, skim through the mistakes (to save time and stress) and see stunning examples.
Why it’s important to have a photography website
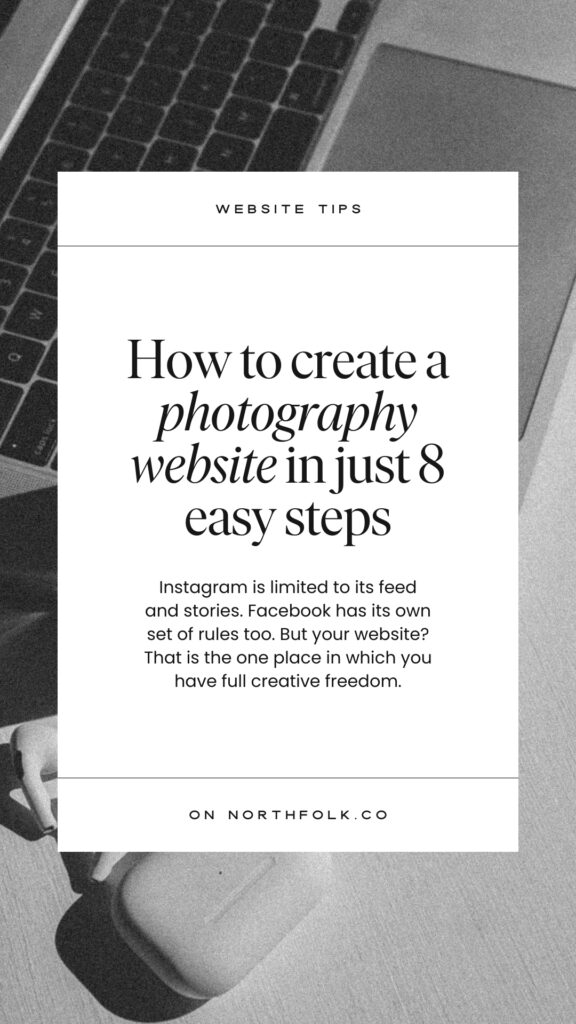
Your website is the last impression, and it’s the only platform you have total control over. Instagram is limited to its feed and stories. Facebook has its own set of rules too. But your website? That is the one place in which you have full creative freedom.
All in all, a photography website:
- Shows that you are legit, and more than just a hobby photographer posting nice photos on the ‘gram
- Gives clients a place to learn more and build trust (increasing the likelihood that they’ll actually reach out)
- Provides organic marketing opportunities thanks to SEO, i.e. you can use your website to be found with a Google search — wouldn’t that be nice?
- Helps you stand out — with key content like your portfolio, mission statement, bio, etc.
- Makes it easy to brand yourself — the design, content, and user experience all come together to provide a brand image
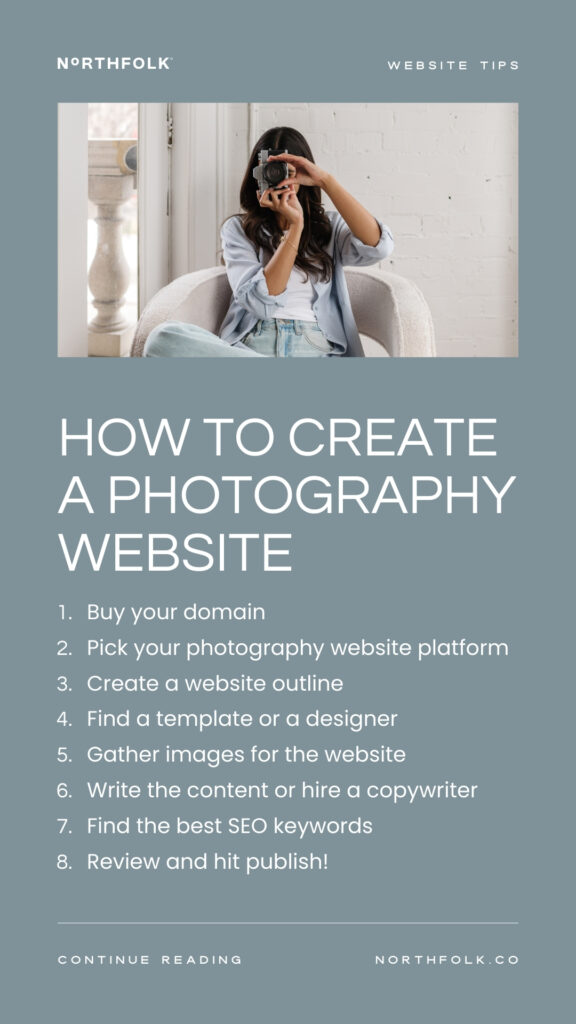
How To Create A Photography Website In 8 Steps
1. Buy your domain
You need a URL first! It’s usually best to buy this so you own the rights to your website, no matter which platform you use. Namecheap and Godaddy are typical places where you can buy the URL. For example, the URL we bought for our brand is northfolk.co. Unless you’re picking a standard or popular name, it should usually only cost you about $10 a year. Go ahead and pay for the SSL Certificate while you’re at it — it’s simply a security measure that helps with SEO!
2. Pick your photography website platform
Photographers who want to make their own website easily can choose platforms like Showit, Squarespace, and WordPress. Showit lets you be very creative, Squarespace is easy to use and looks nice, and WordPress is great for getting your website noticed more easily on the internet.
3. Create a website outline
What will go in your menu bar? What do you plan on featuring on each page?
Knowing this from the start makes it easier to cull images, find a template, write the content and so much more.
Need some help? Snag our free Site Map Planner!
4. Find a template or a designer
From there, you can find a template to DIY, hire a designer to build your website from scratch — or a mix of the two — buy a template and hire a designer to customize it for you.
5. Gather images for the website
It helps to organize these by page! Put all of your home page photos in one folder, about page photos in another, and so on. Try to feature the photographs that will resonate with the weddings you want to book. If you’re tired of barn weddings, please don’t show those ole barn photos! Instead, try to feature the weddings more in line with your goals (or go out and plan a styled shoot to curate that content).
6. Write the content or hire a copywriter
While it would be so easy to just toss some photos onto your website and hit publish, there’s a lot more to it, especially if you want to stand out. Telling the story behind your captures, talking about your approach and highlighting the unique aspects of your style makes it easier for the right people to trust and hire you. For our templates, we choose to tell a story so it will give you inspiration on what you could fill in there!
If you are still staring at a blinking cursor, our pal Lauren from Salted Pages has created AH-MAZING templates and guides to help you write your website content! If you use code: SALTEDPAGES you can get 15% off!
7. Find the best SEO keywords
You can skip this if you already have amazing connections and referrals, and your website is just a checkpoint before a phone call. However, if you want more clients to be able to find you with a simple Google search, SEO is the way. You can hire SEO specialists for this — just look out for the right type of SEO provider (more tips on this here). These keywords can be used in the text content, and as image titles.
8. Review, ask friends to look it over and hit publish!
From there, share on social media, perhaps send out a newsletter and add your new URL to your business cards, Google business listing and more!
9. Bonus tip!
Having been in the world of websites for over a decade, one thing always rings true — you can’t simply hit publish and walk away. You should update your photography website’s portfolio quarterly or at least annually, and you should review it once a year to make sure the content and imagery still speak to your niche and goals.
Creating a photography website? See the common mistakes we’ve caught as web designers.
1. Photos, photos, and nothing else
Don’t expect clients to understand the skills and experience behind your beautiful photos. Add some text content to describe your approach, how you developed your style, and anything you do that others don’t — like wedding timeline reviews, film photography, and sneak peeks.
2. Not mentioning your location
Even if you travel all the time for destination work, it builds trust (and helps with SEO) if you mention an actual location. Talk about where you’re based, or mention where your work has taken you if you have some of those heavy-hitter, jaw-dropping destinations you’d love to travel to again.
3. Skimping on the photos
While we’ve seen some photographers feature too many photos (scrolling for days here, and in a bad way), we’ve also seen the opposite — no portfolio page, or a portfolio page that doesn’t showcase individual galleries.
Most of the time, if you want to charge more or be known for the way you capture portraits or weddings, you need to display a curated example of a gallery.
Let clients scroll through one couple’s gallery (a shortened version) to see the highlights they’re looking forward to. Whereas, piling just a handful of wedding photos in one collage-style scroll simply does not provide the full picture that clients are hoping to see before hiring their photographer.
4. Broken links
When you launch your website, hover and click everything. The last thing you want is a dead-end.
5. No about page
Hey Siri, why is it so hard to talk about yourself? And yet, about pages are one of the most important when it comes to building trust and setting yourself apart. Pro tip: Try making it more about how you help your clients, instead of making it all about you. Yes, you can still share your favorites roundup or a collage of your life still. Your clients want to know how you BOTH could connect.
6. Expecting it to be perfect
Ah yes, the perfectionist in you won’t let you hit that launch button until it’s perfect. But here’s the thing. An imperfect website is better than no website, or that coming soon page that has been up there for months now. You should always be evolving your website with your experience, so don’t expect the first iteration to be the end-all-be-all.
Instead, make sure it looks professional, feels on brand, helps you stand out, and acts as a foundation you can build off of. You can always launch with a smaller, more minimal website that you build on as you can. More portfolios, a better about page, maybe even a newsletter list sign-up.
Bonus points if you’re using Showit. You can get up your initial website so your viewers and customers can get what they need, and you can work on another website in your backend and relink your domain when you’re ready to publish that ✨perfect✨ website.
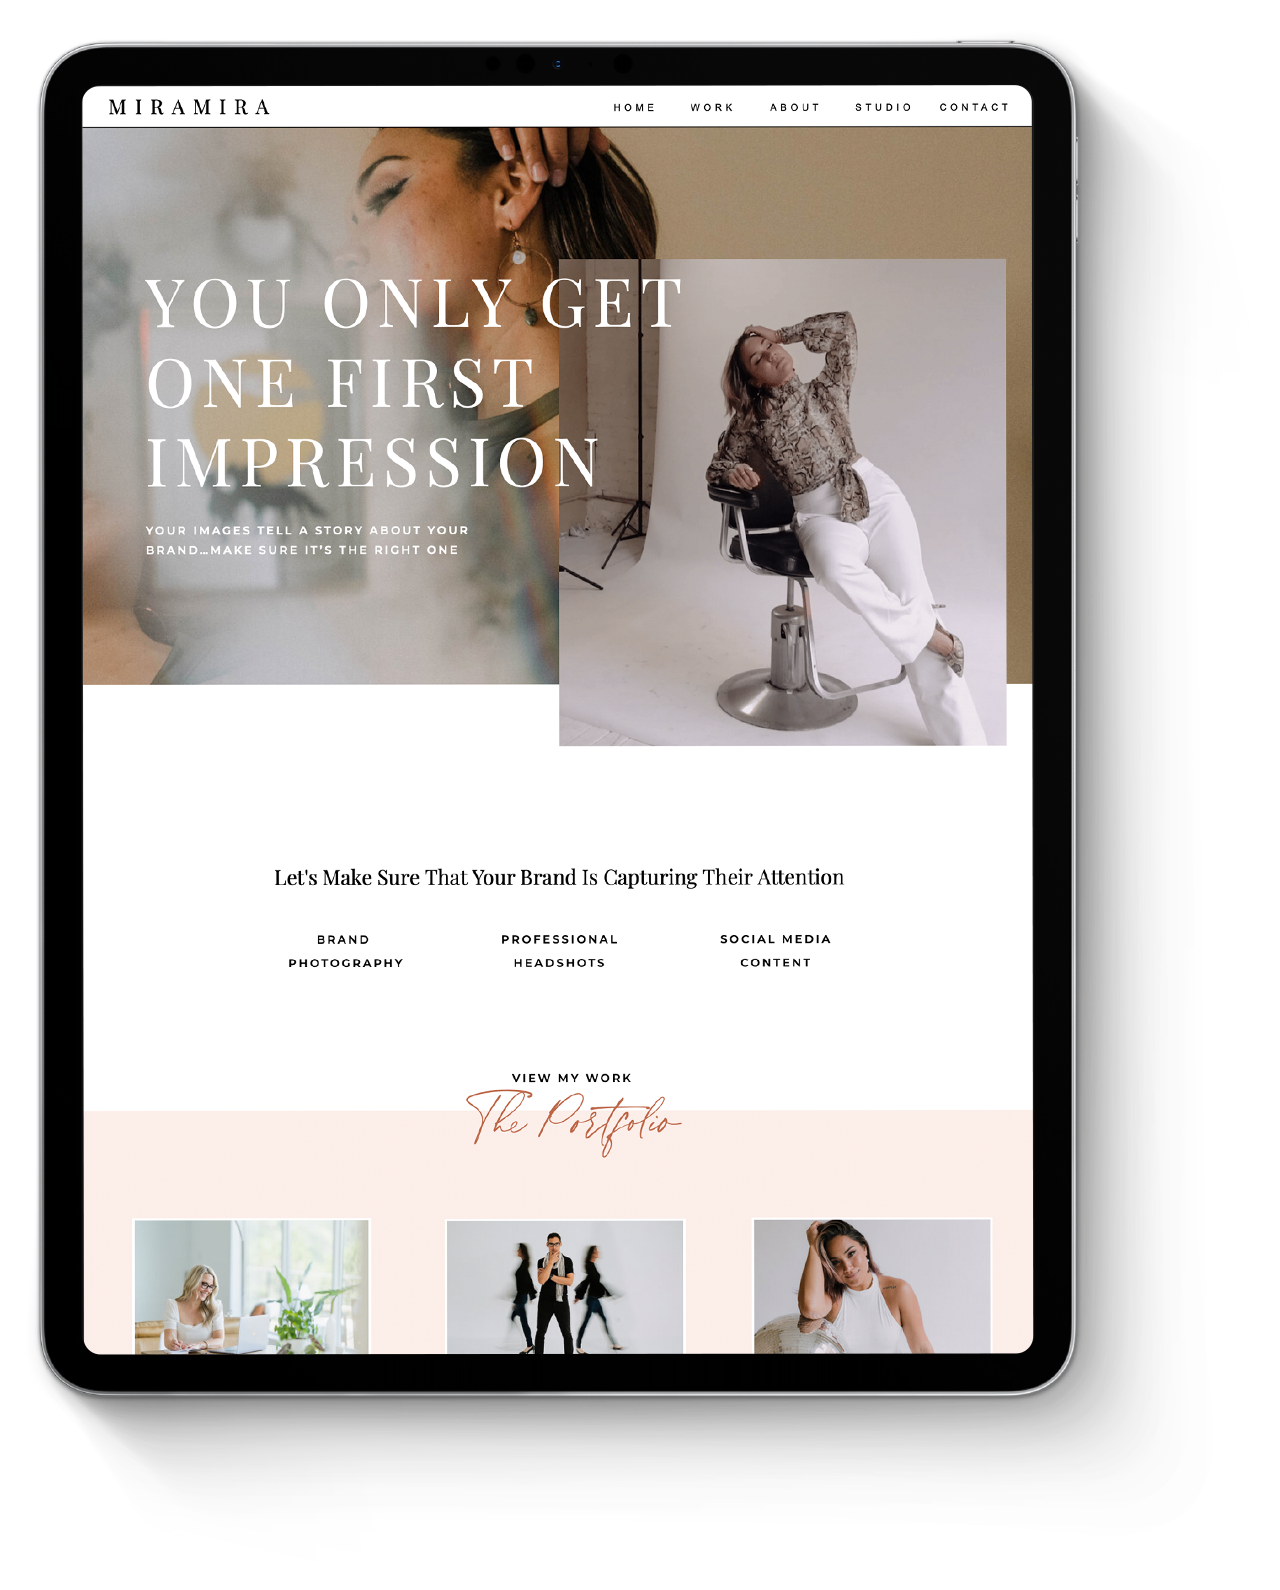
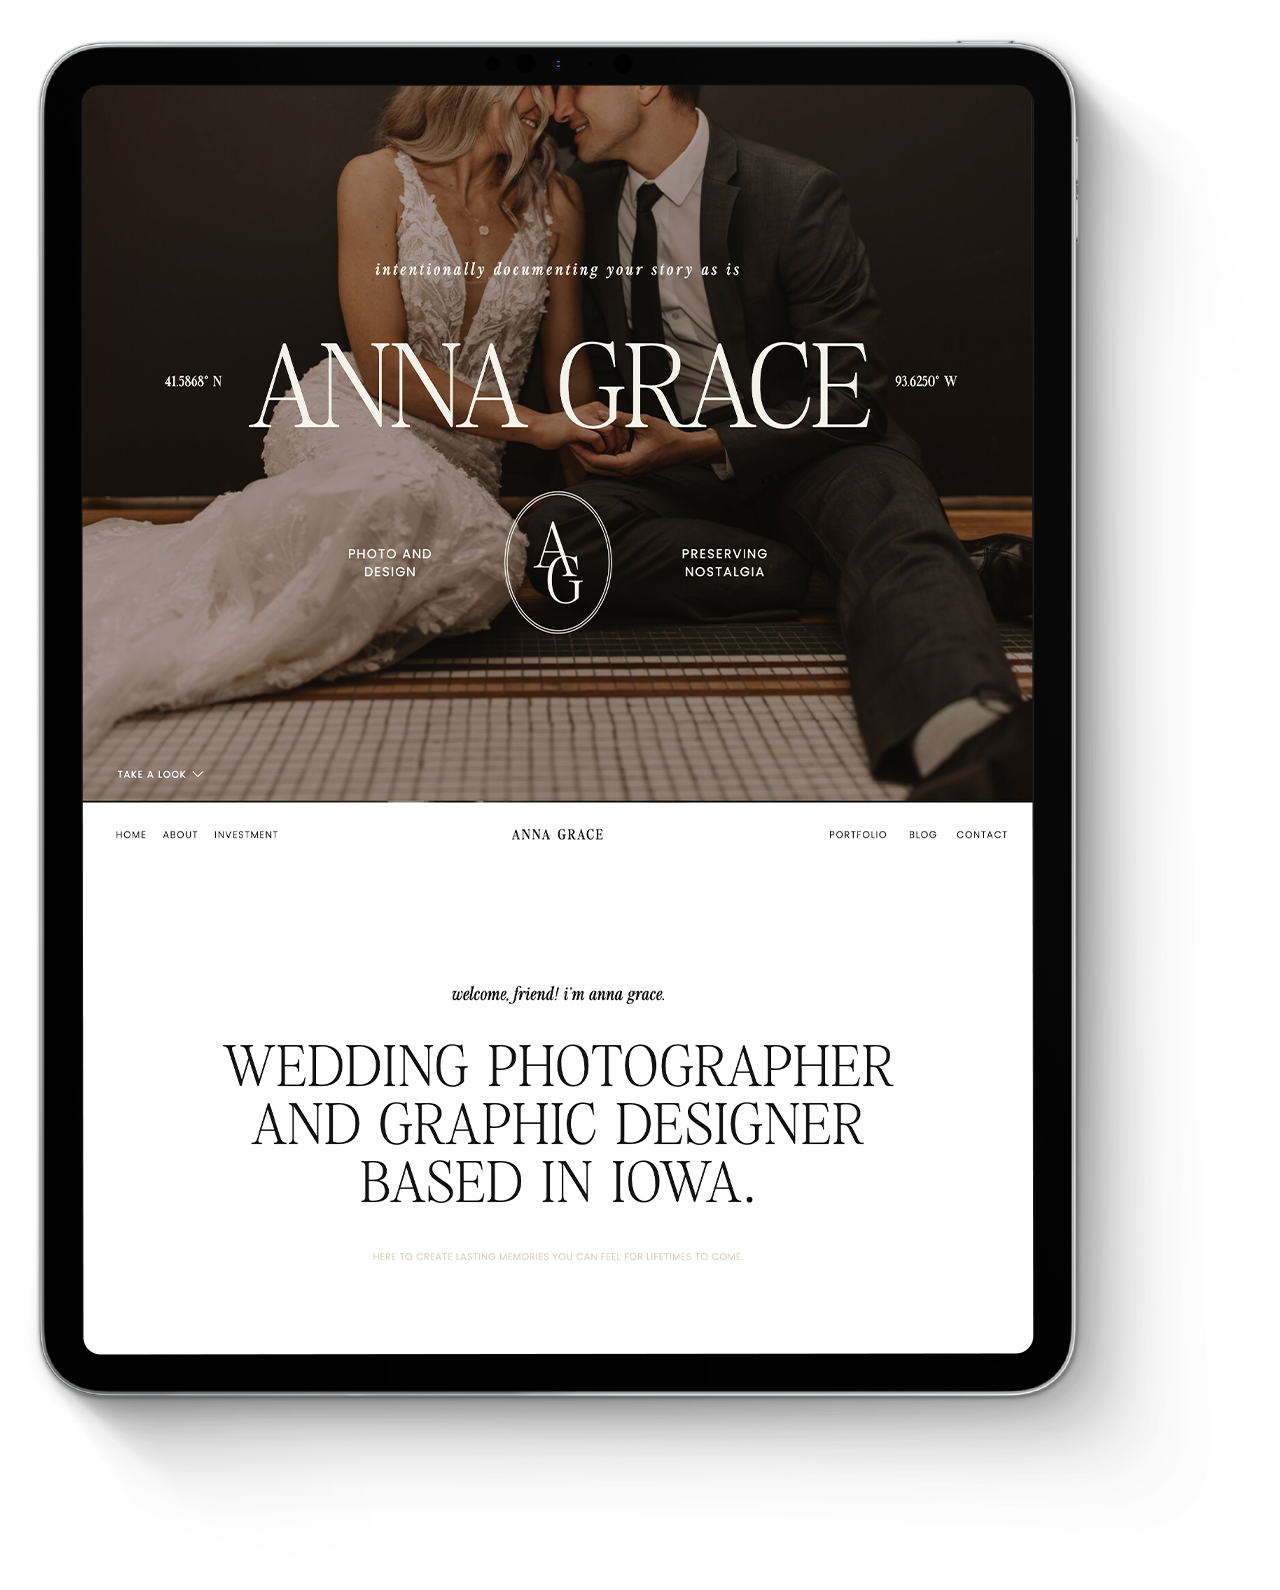
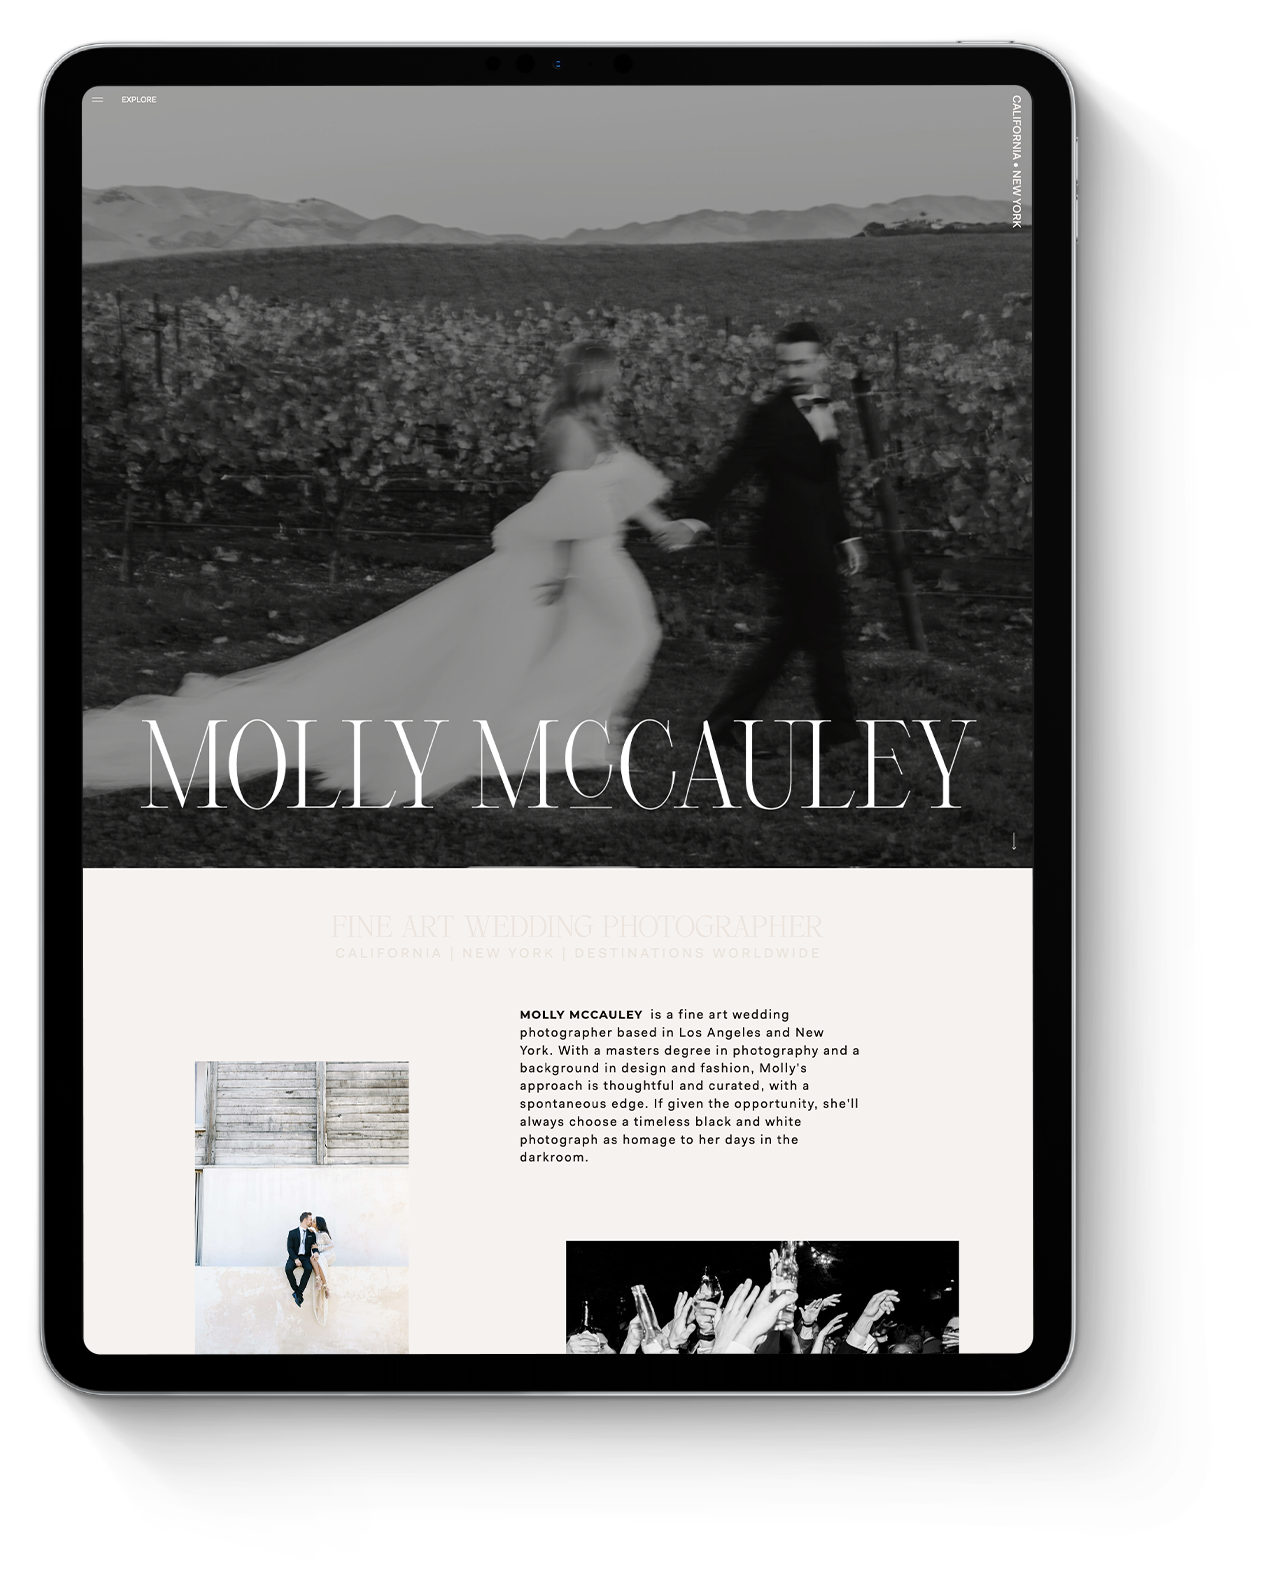
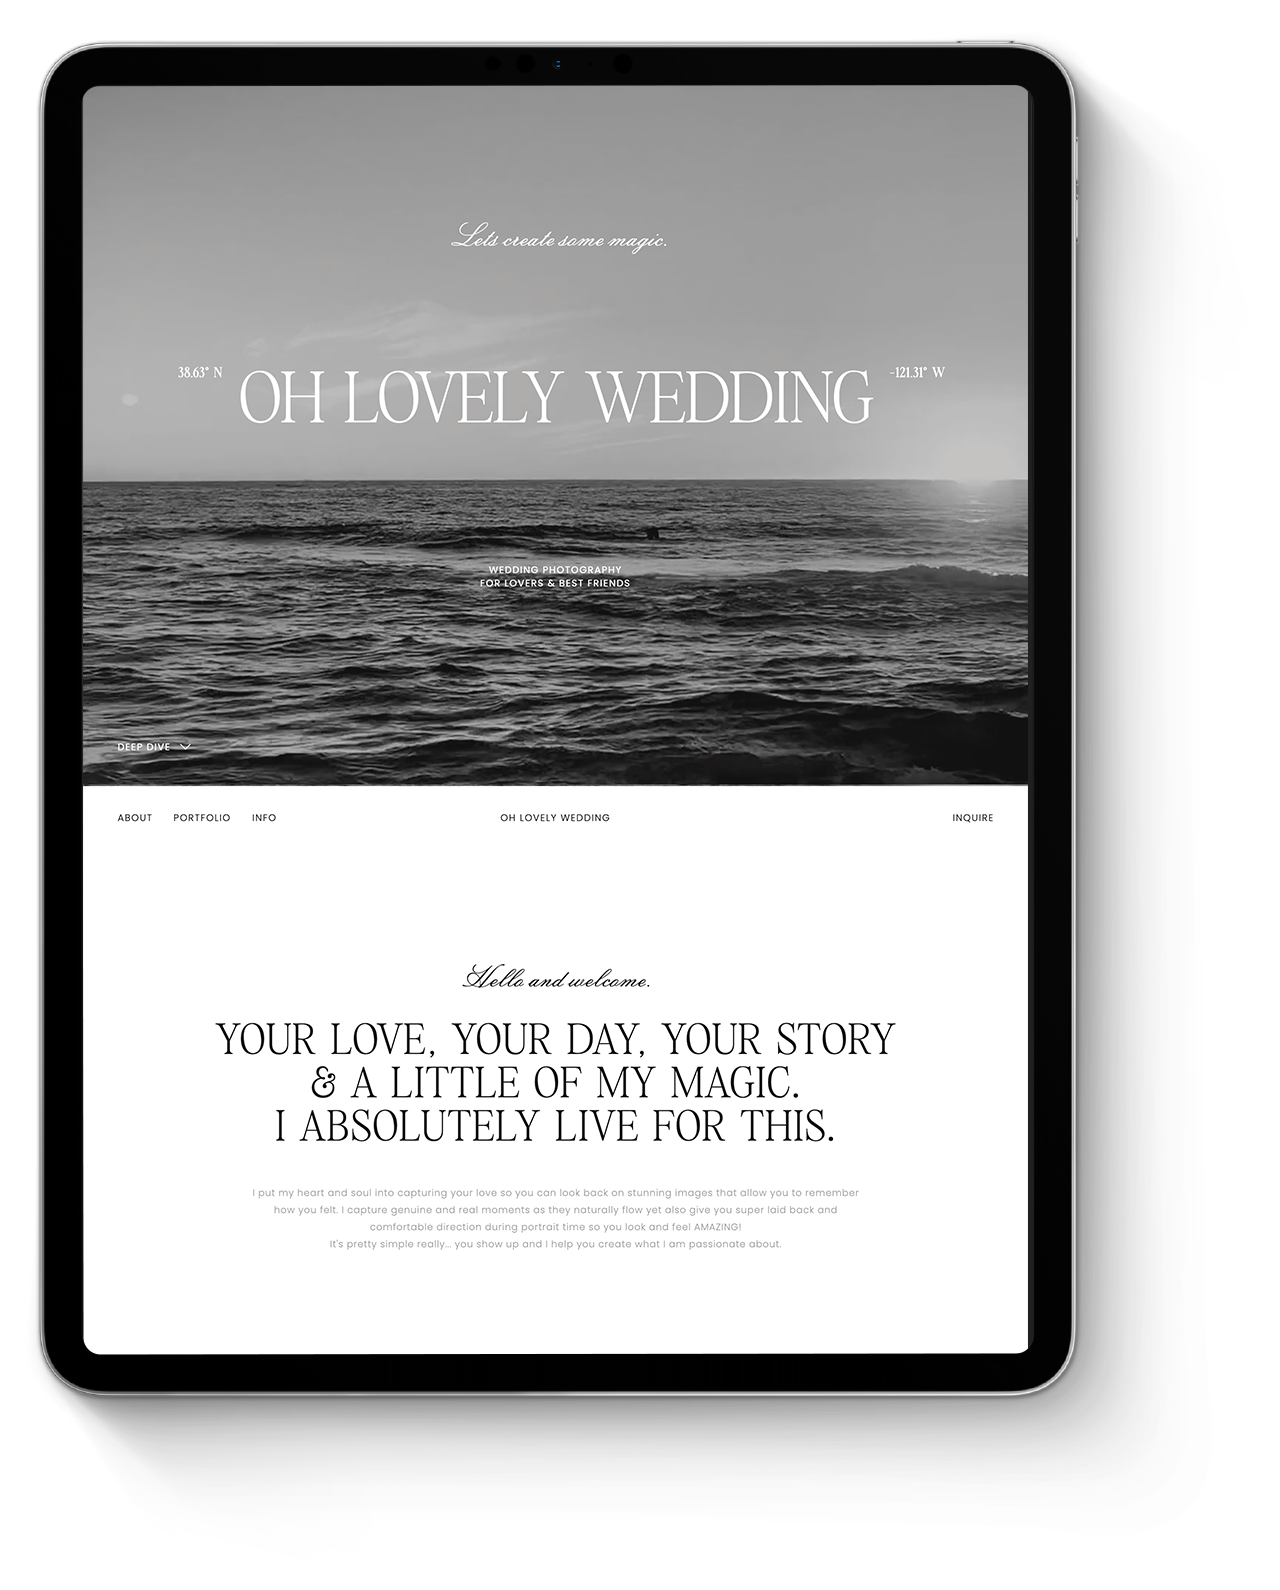
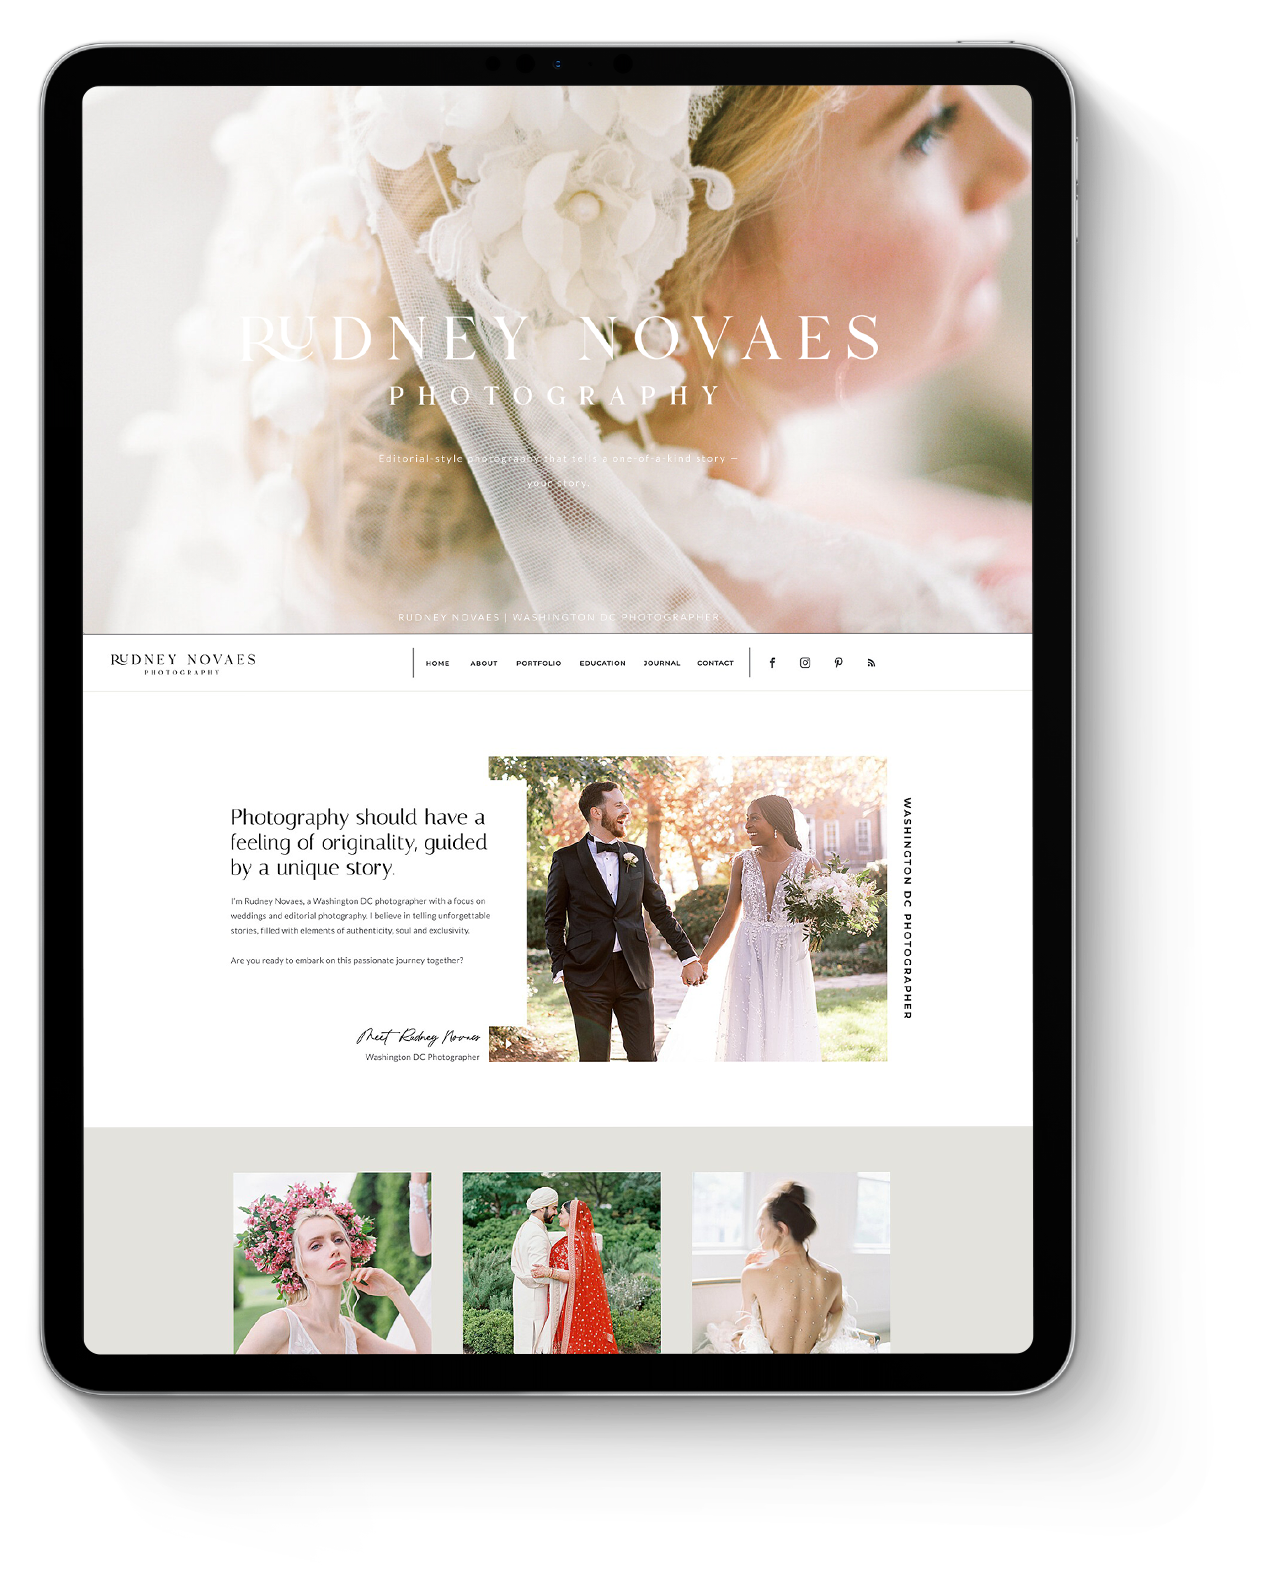
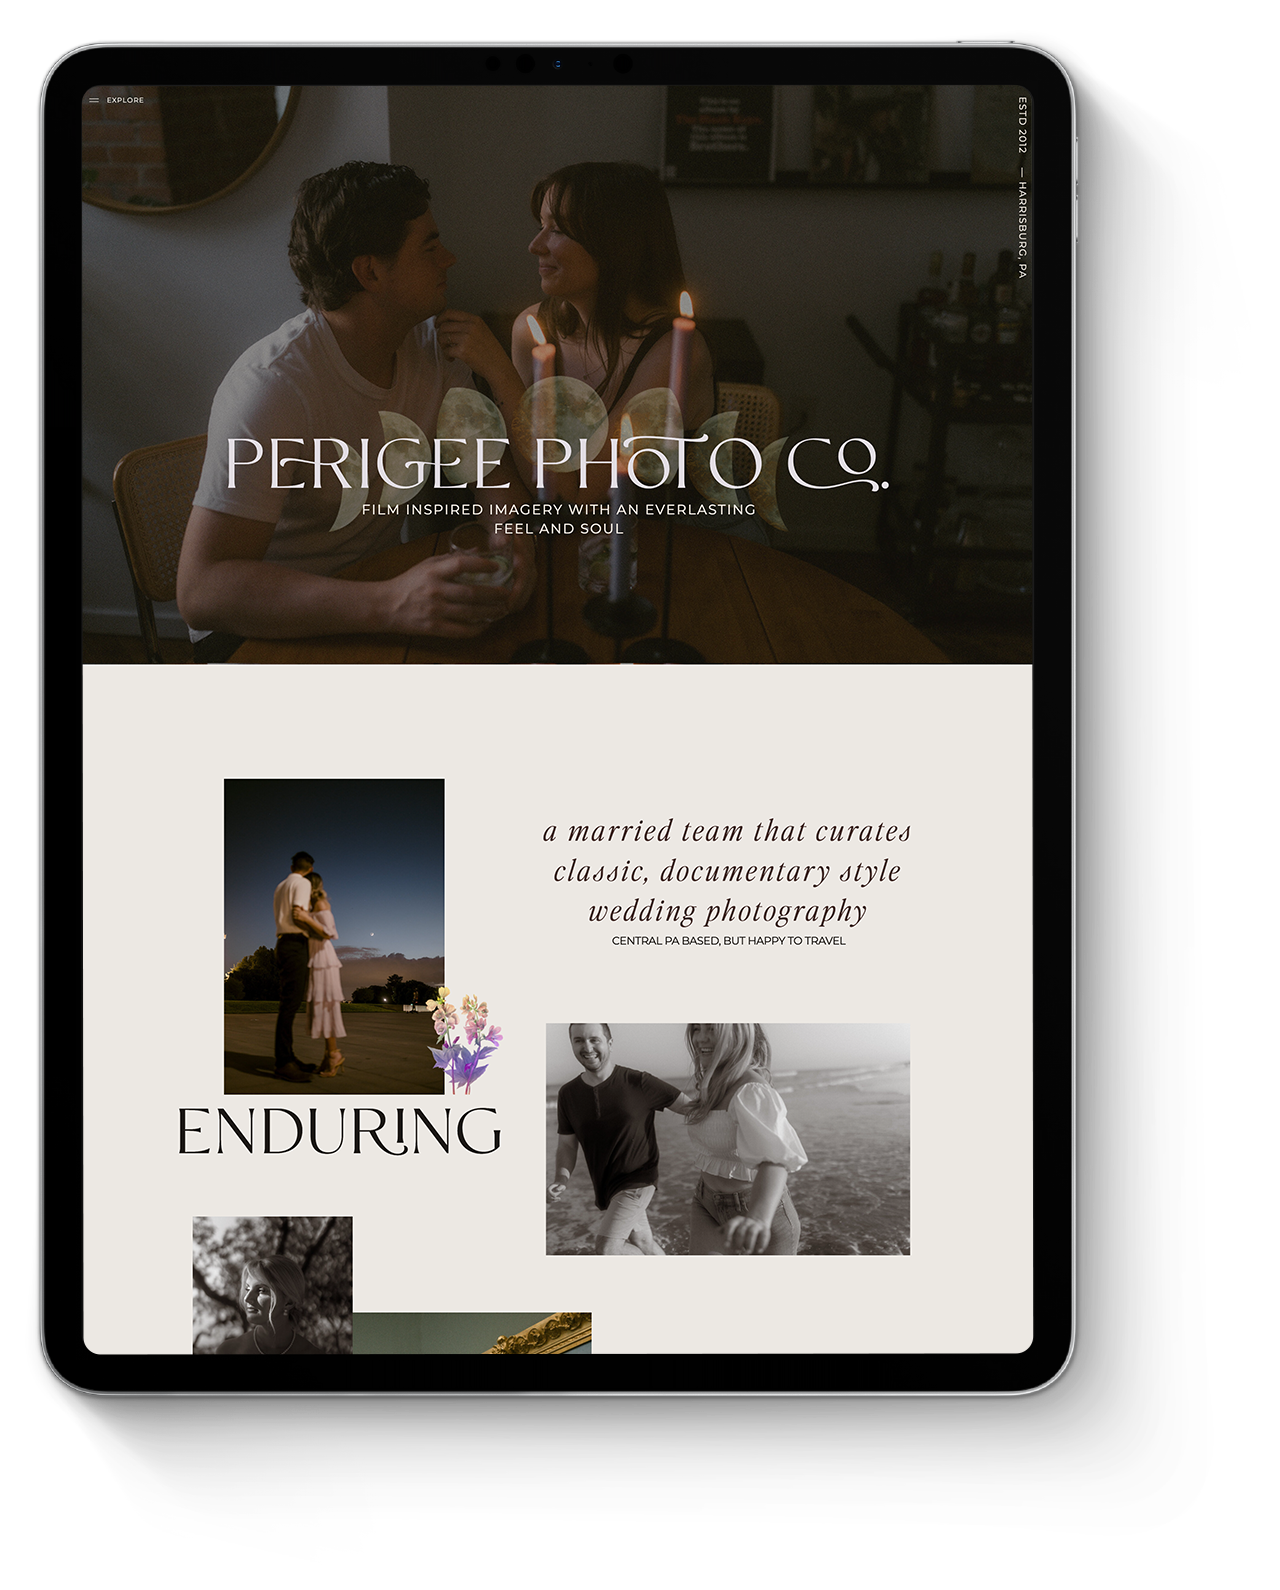
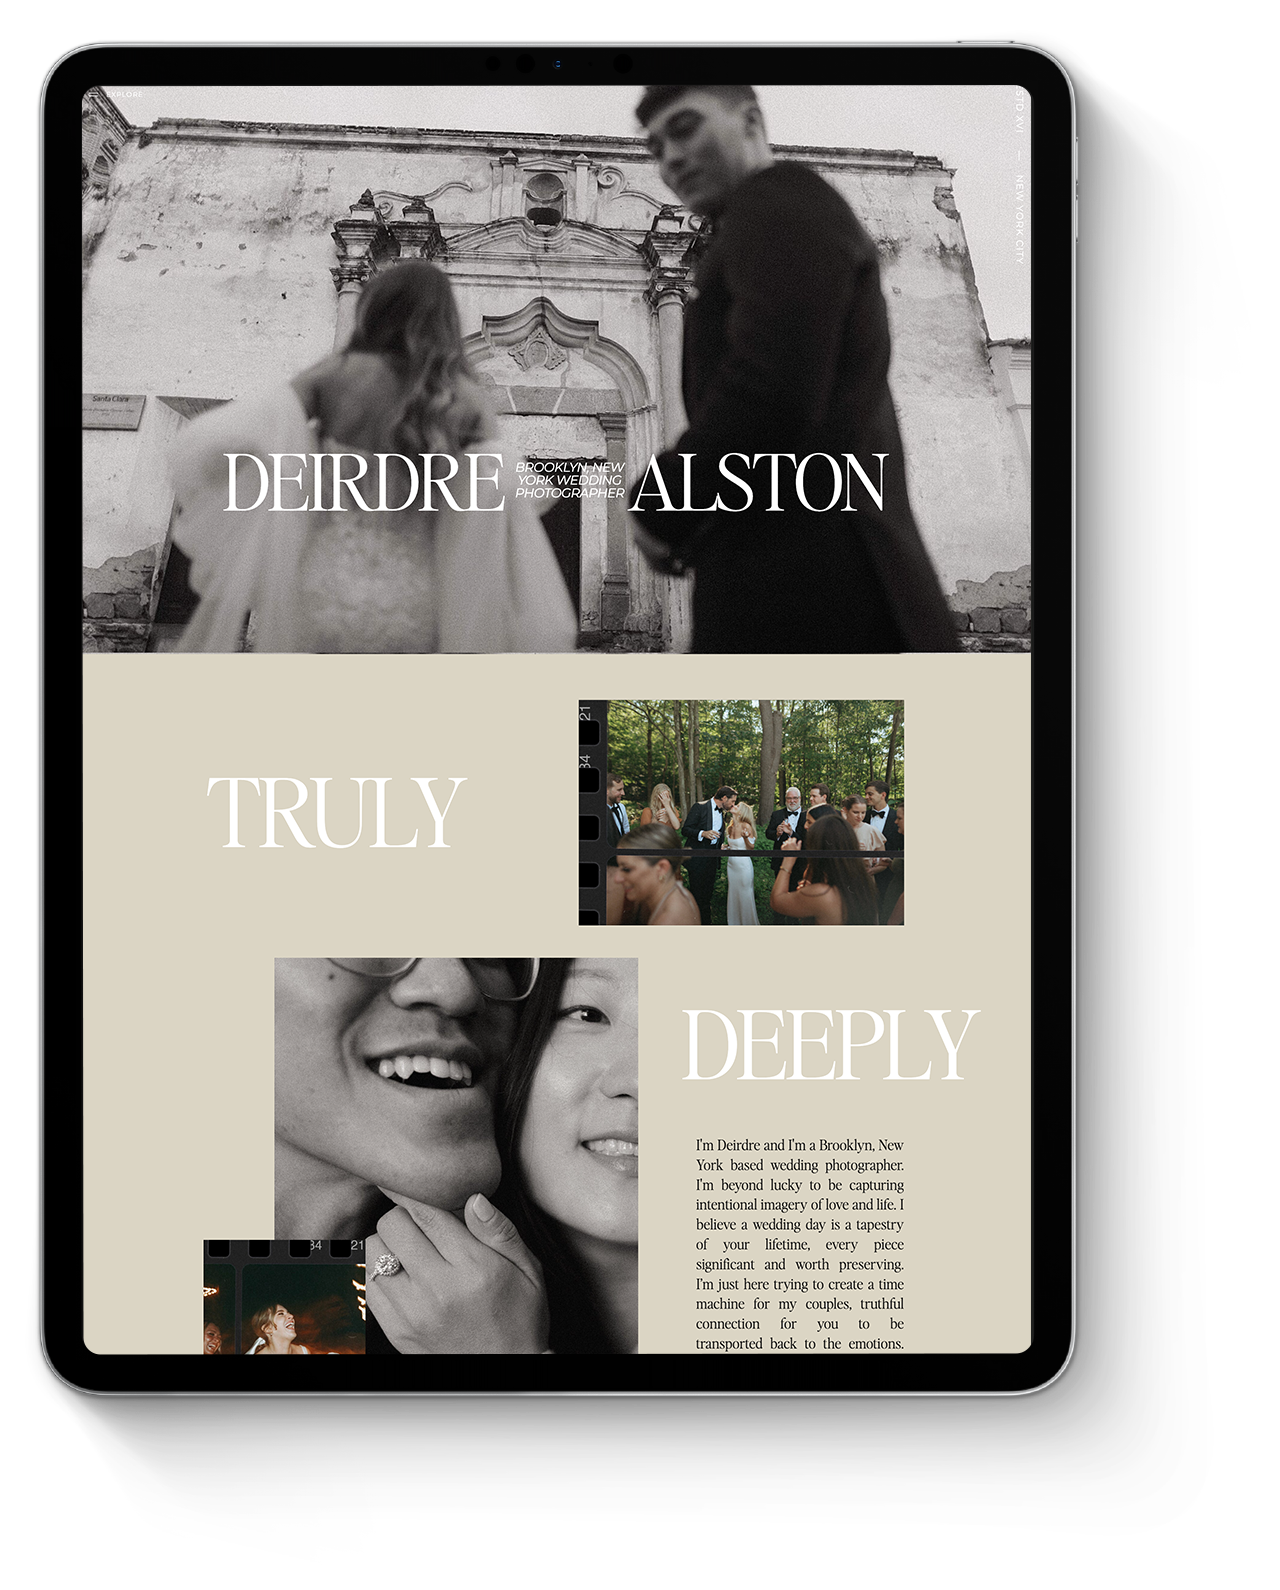
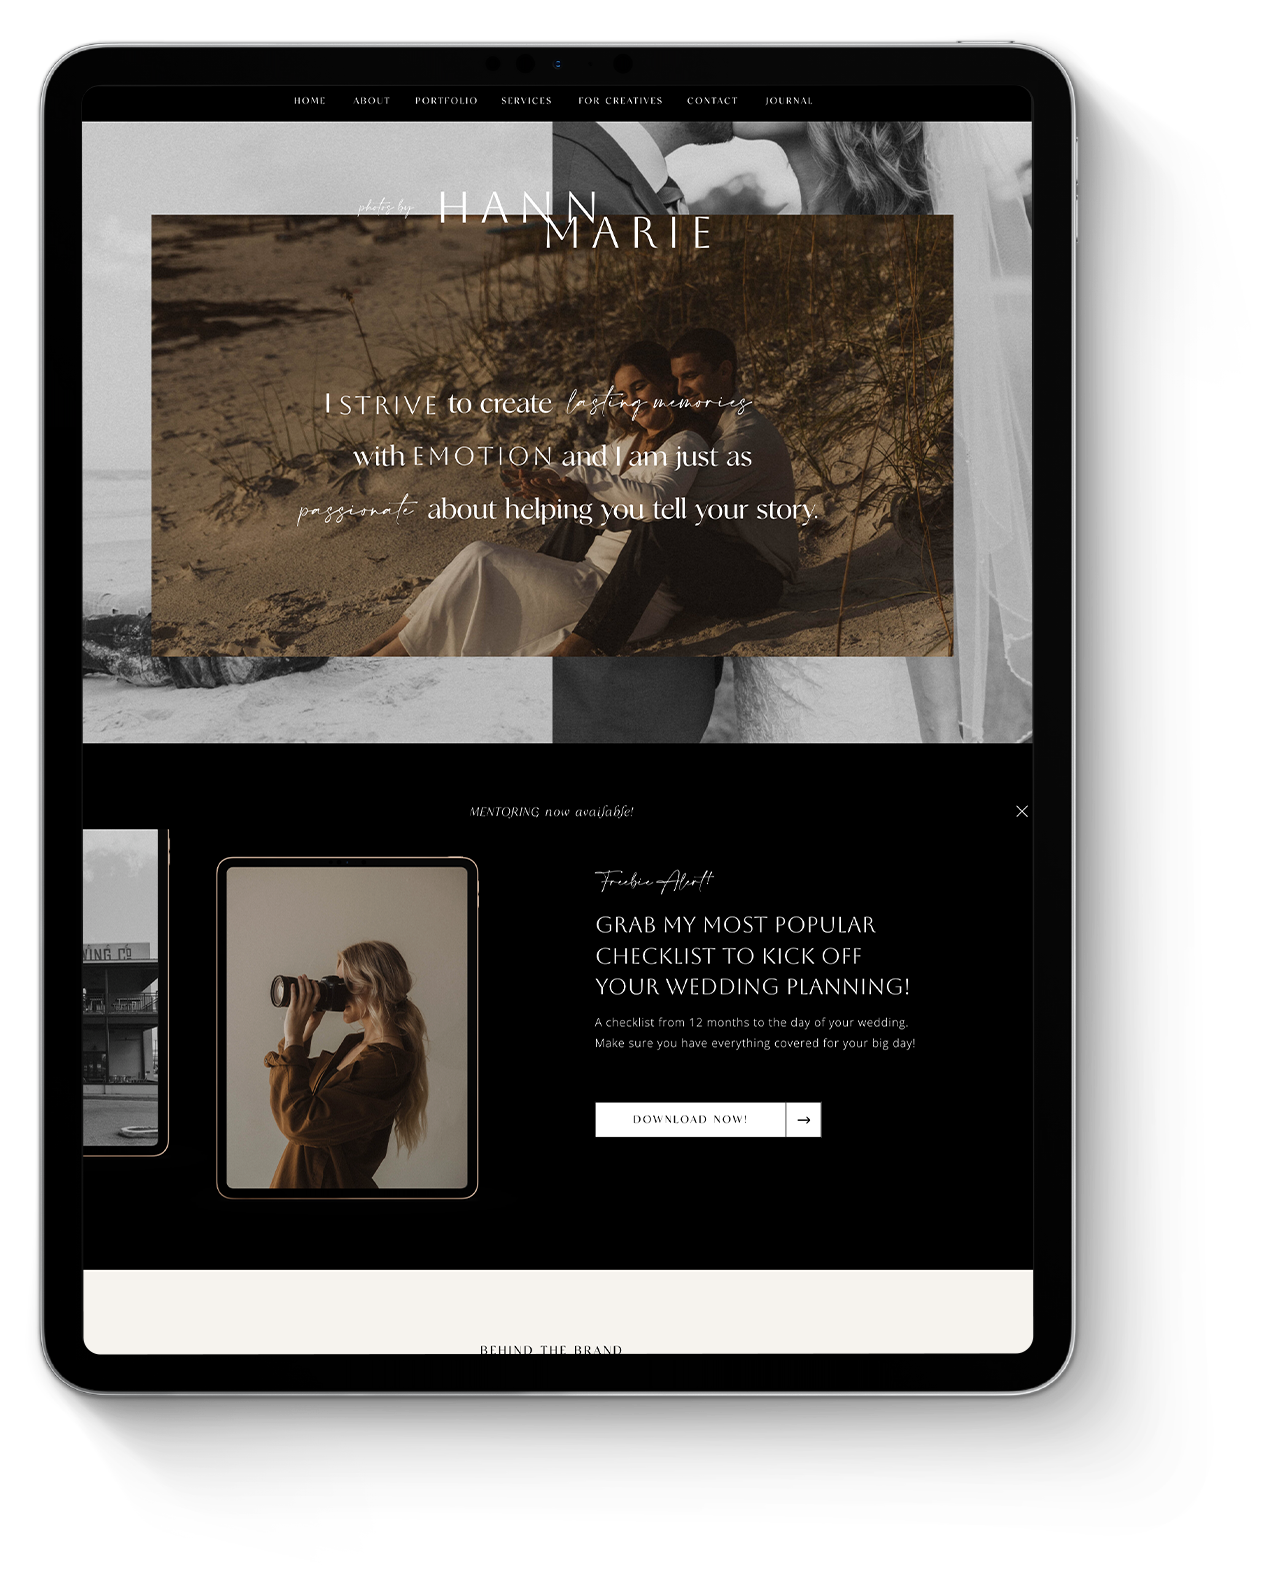
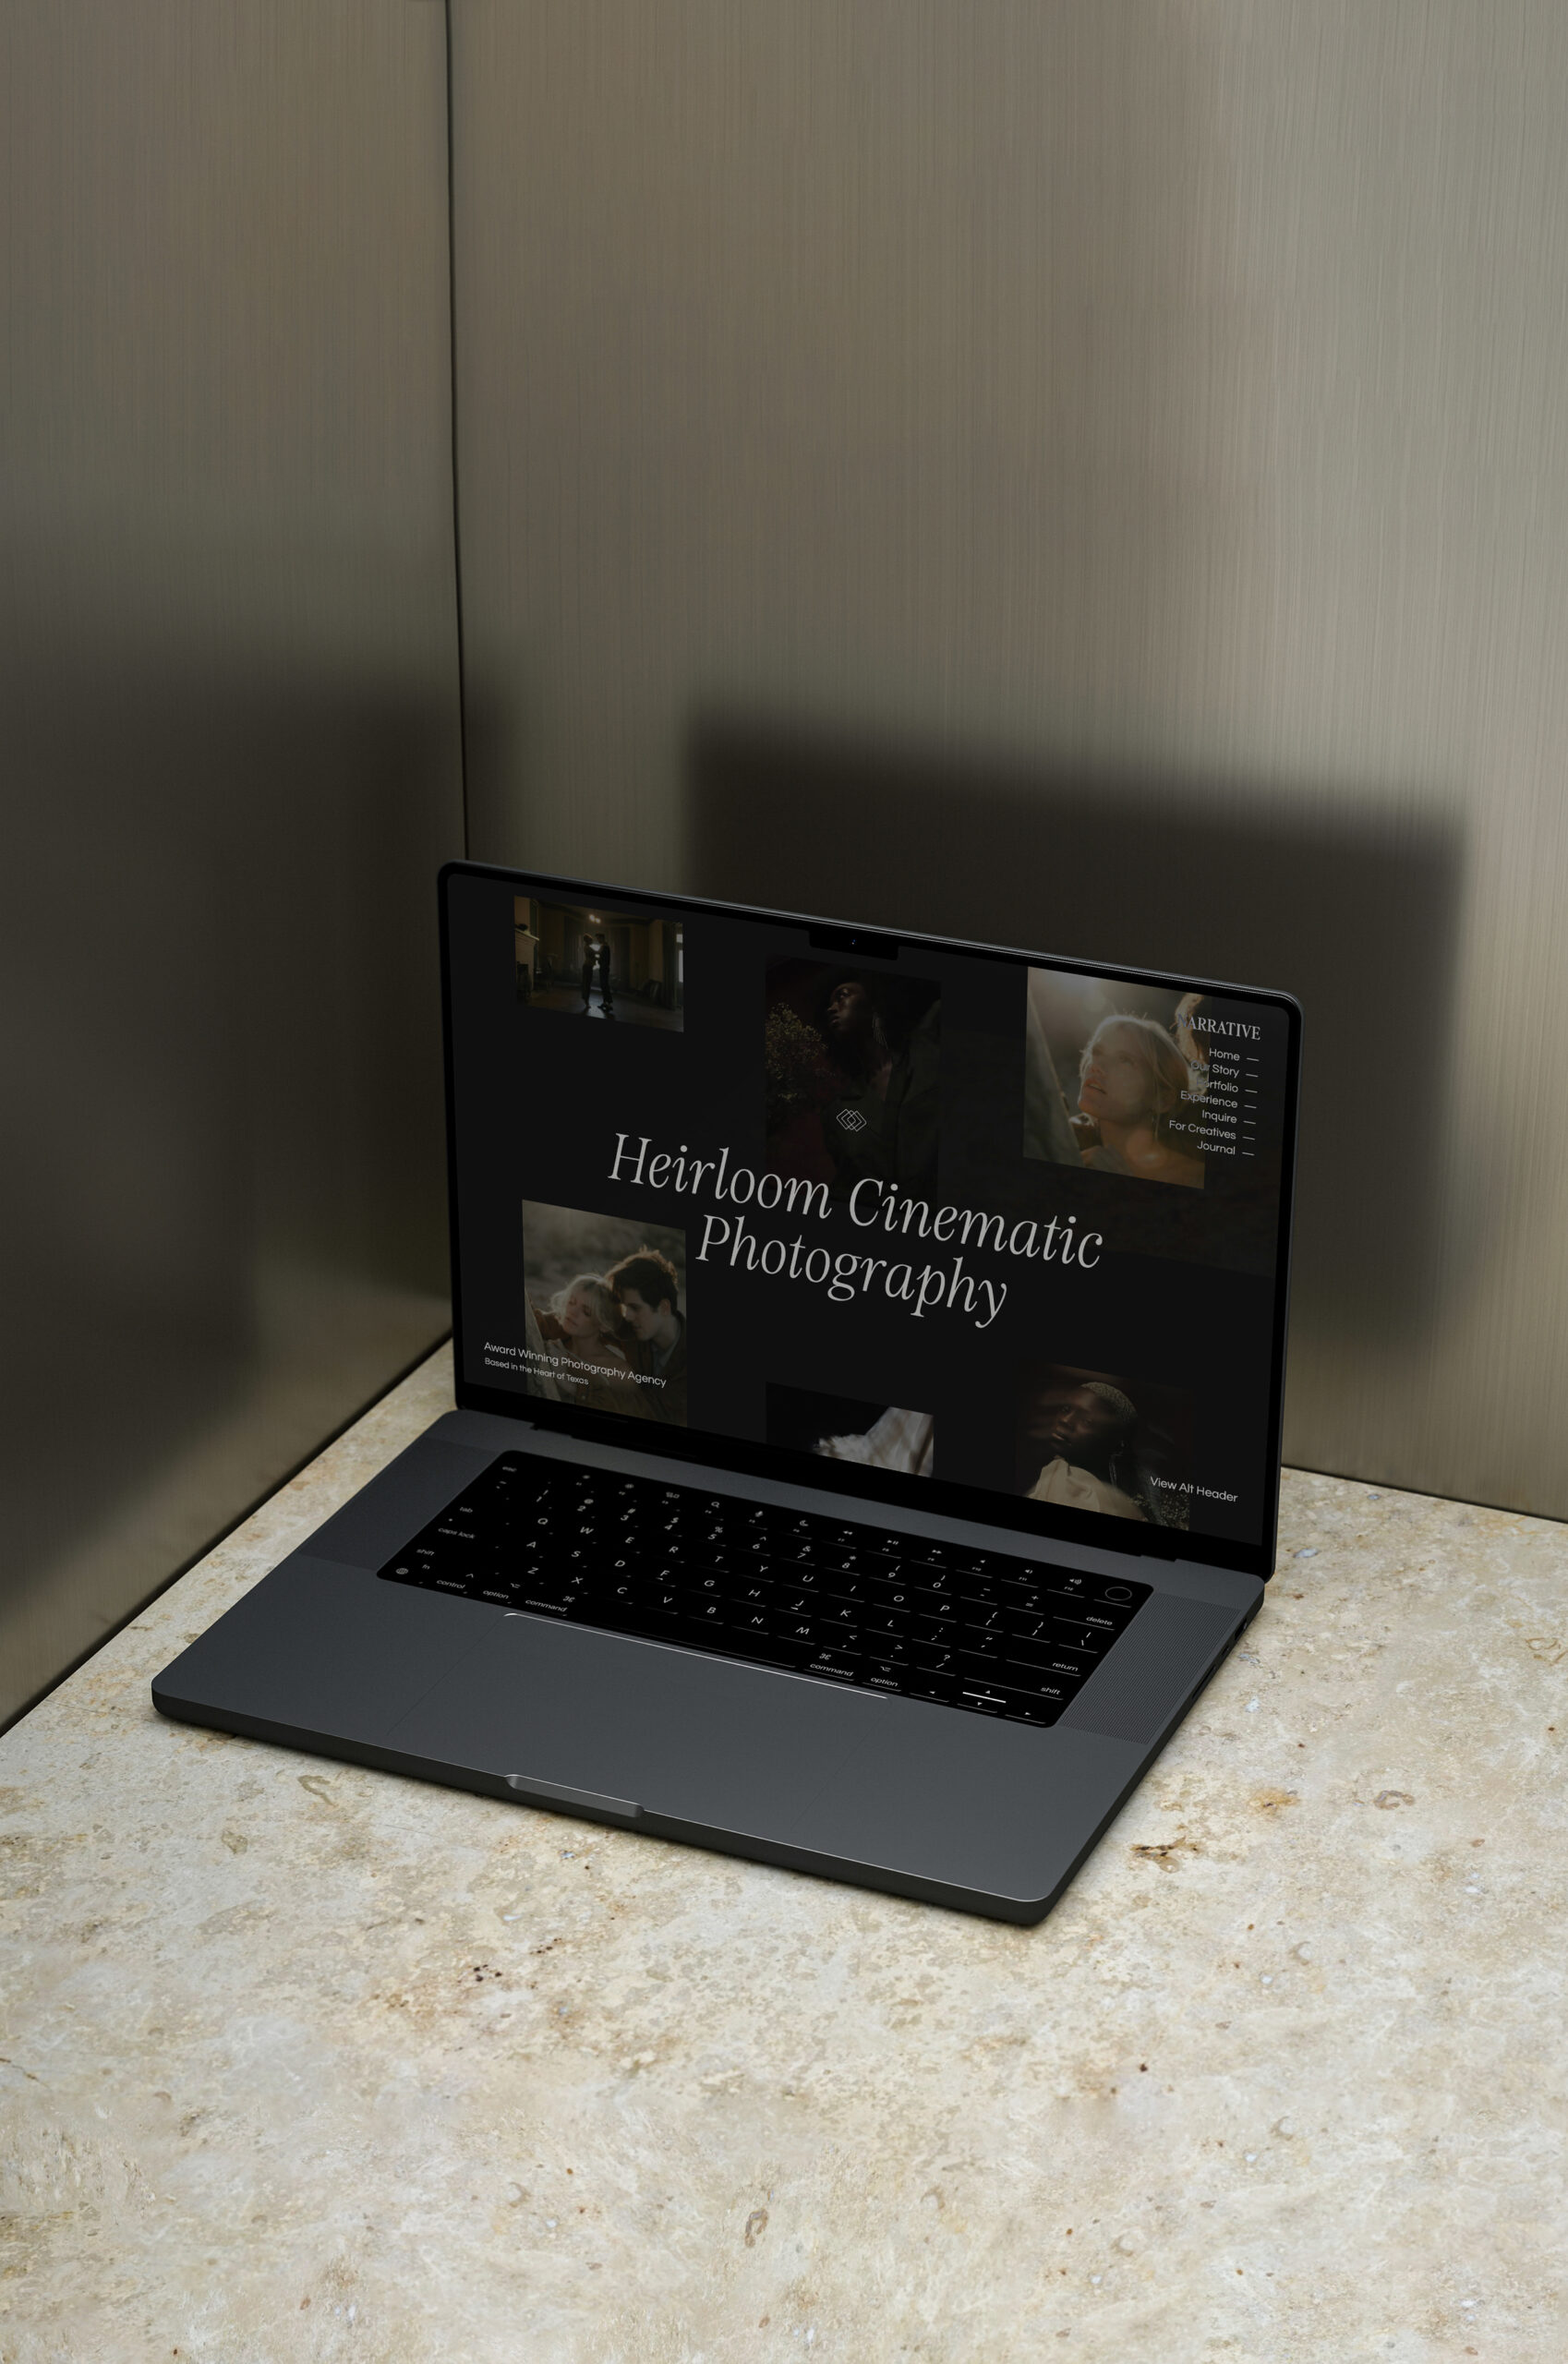
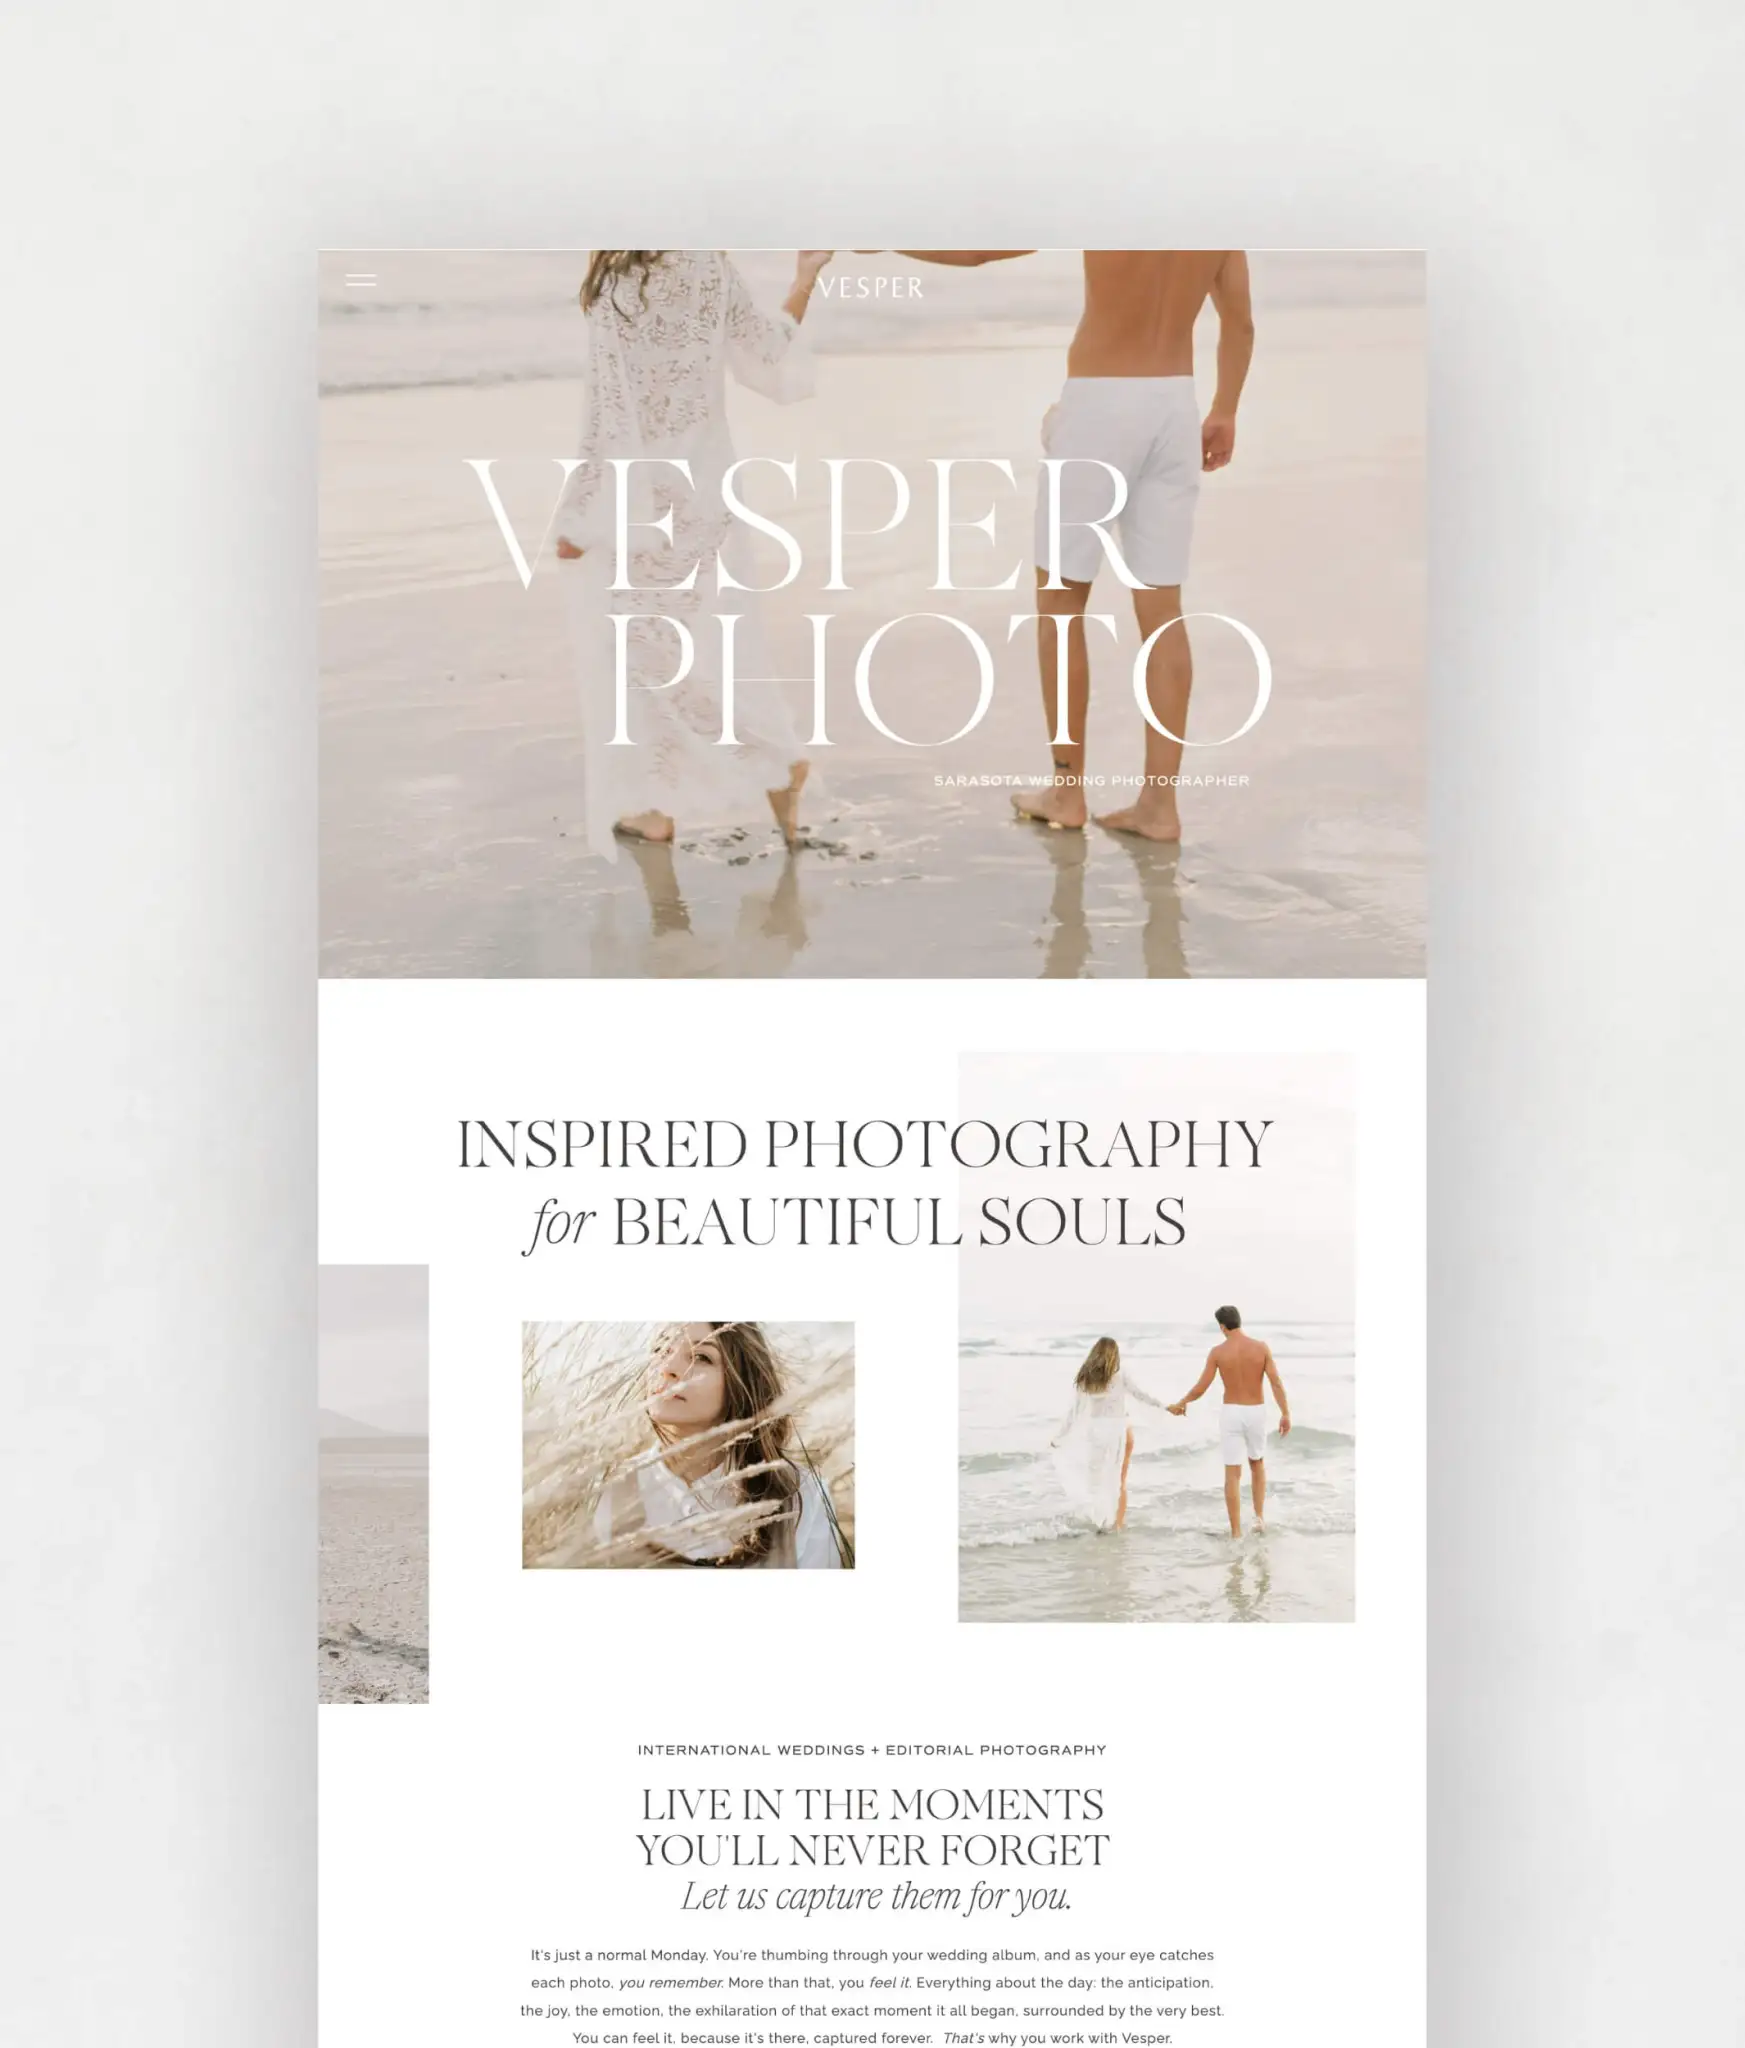
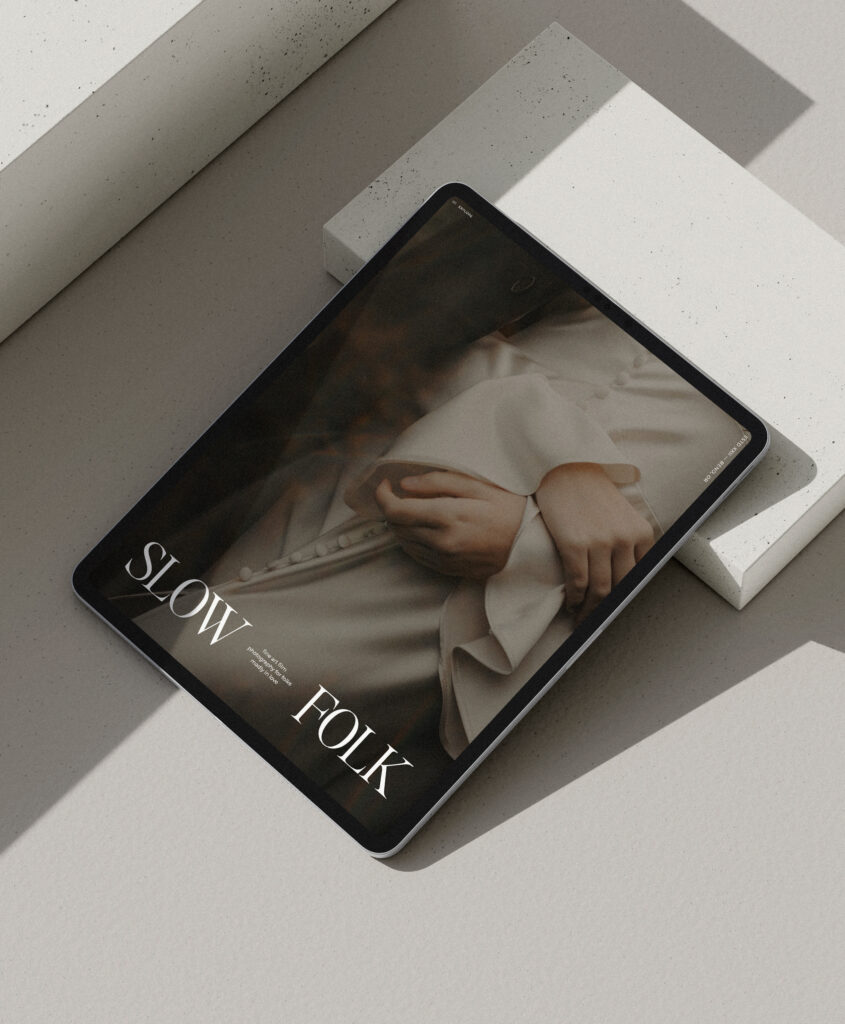
Photography website examples
These photography website examples are shared with the intention to show you what’s possible. This will help you go out and make your website even better, while staying true to your style of work. (We also suggest that you stay in your lane; clients want YOUR work, so don’t adore a competitor so much that you forget to stand out for your way of doing things.)

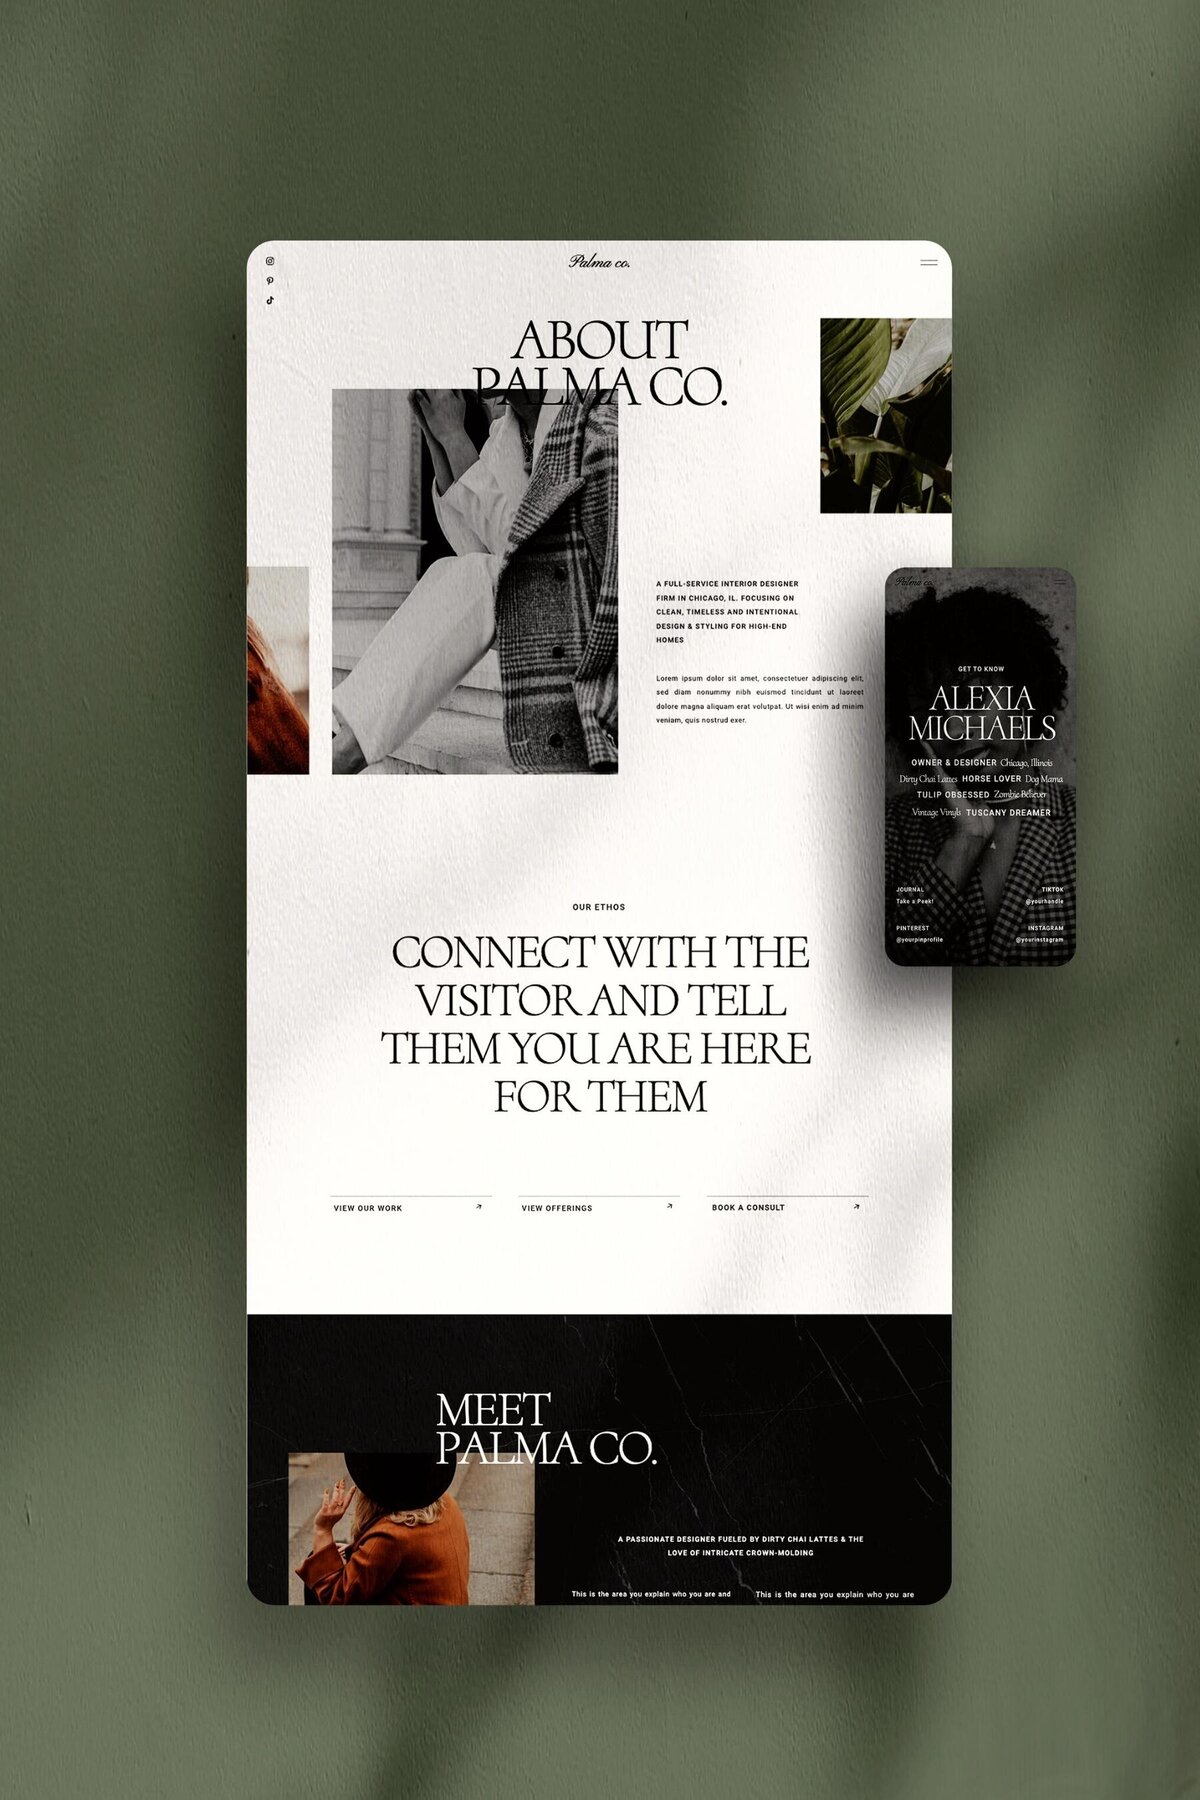
Website templates for photographers
We won’t let you leave empty-handed. Use these high-converting, portfolio-focused templates to avoid new website mistakes, and launch with ease.
We would advise you to connect with us on Instagram; but to be honest – these website tactics mean we don’t have to be on that channel when we don’t want to be daily. So, sign up for our email list instead. (We only send the best advice and latest features, and usually on rare occasions). Happy website building!
P.S. If you’re a graphic designer or creative who wants to learn how to design and sell website templates, check out this program.
Resources:
- Learn more: northfolk.co
- Instagram: @northfolkco
- Shop: Showit Templates for Creatives
- Course: Revolving Revenue
Pin this post for later!